Populating the Pole
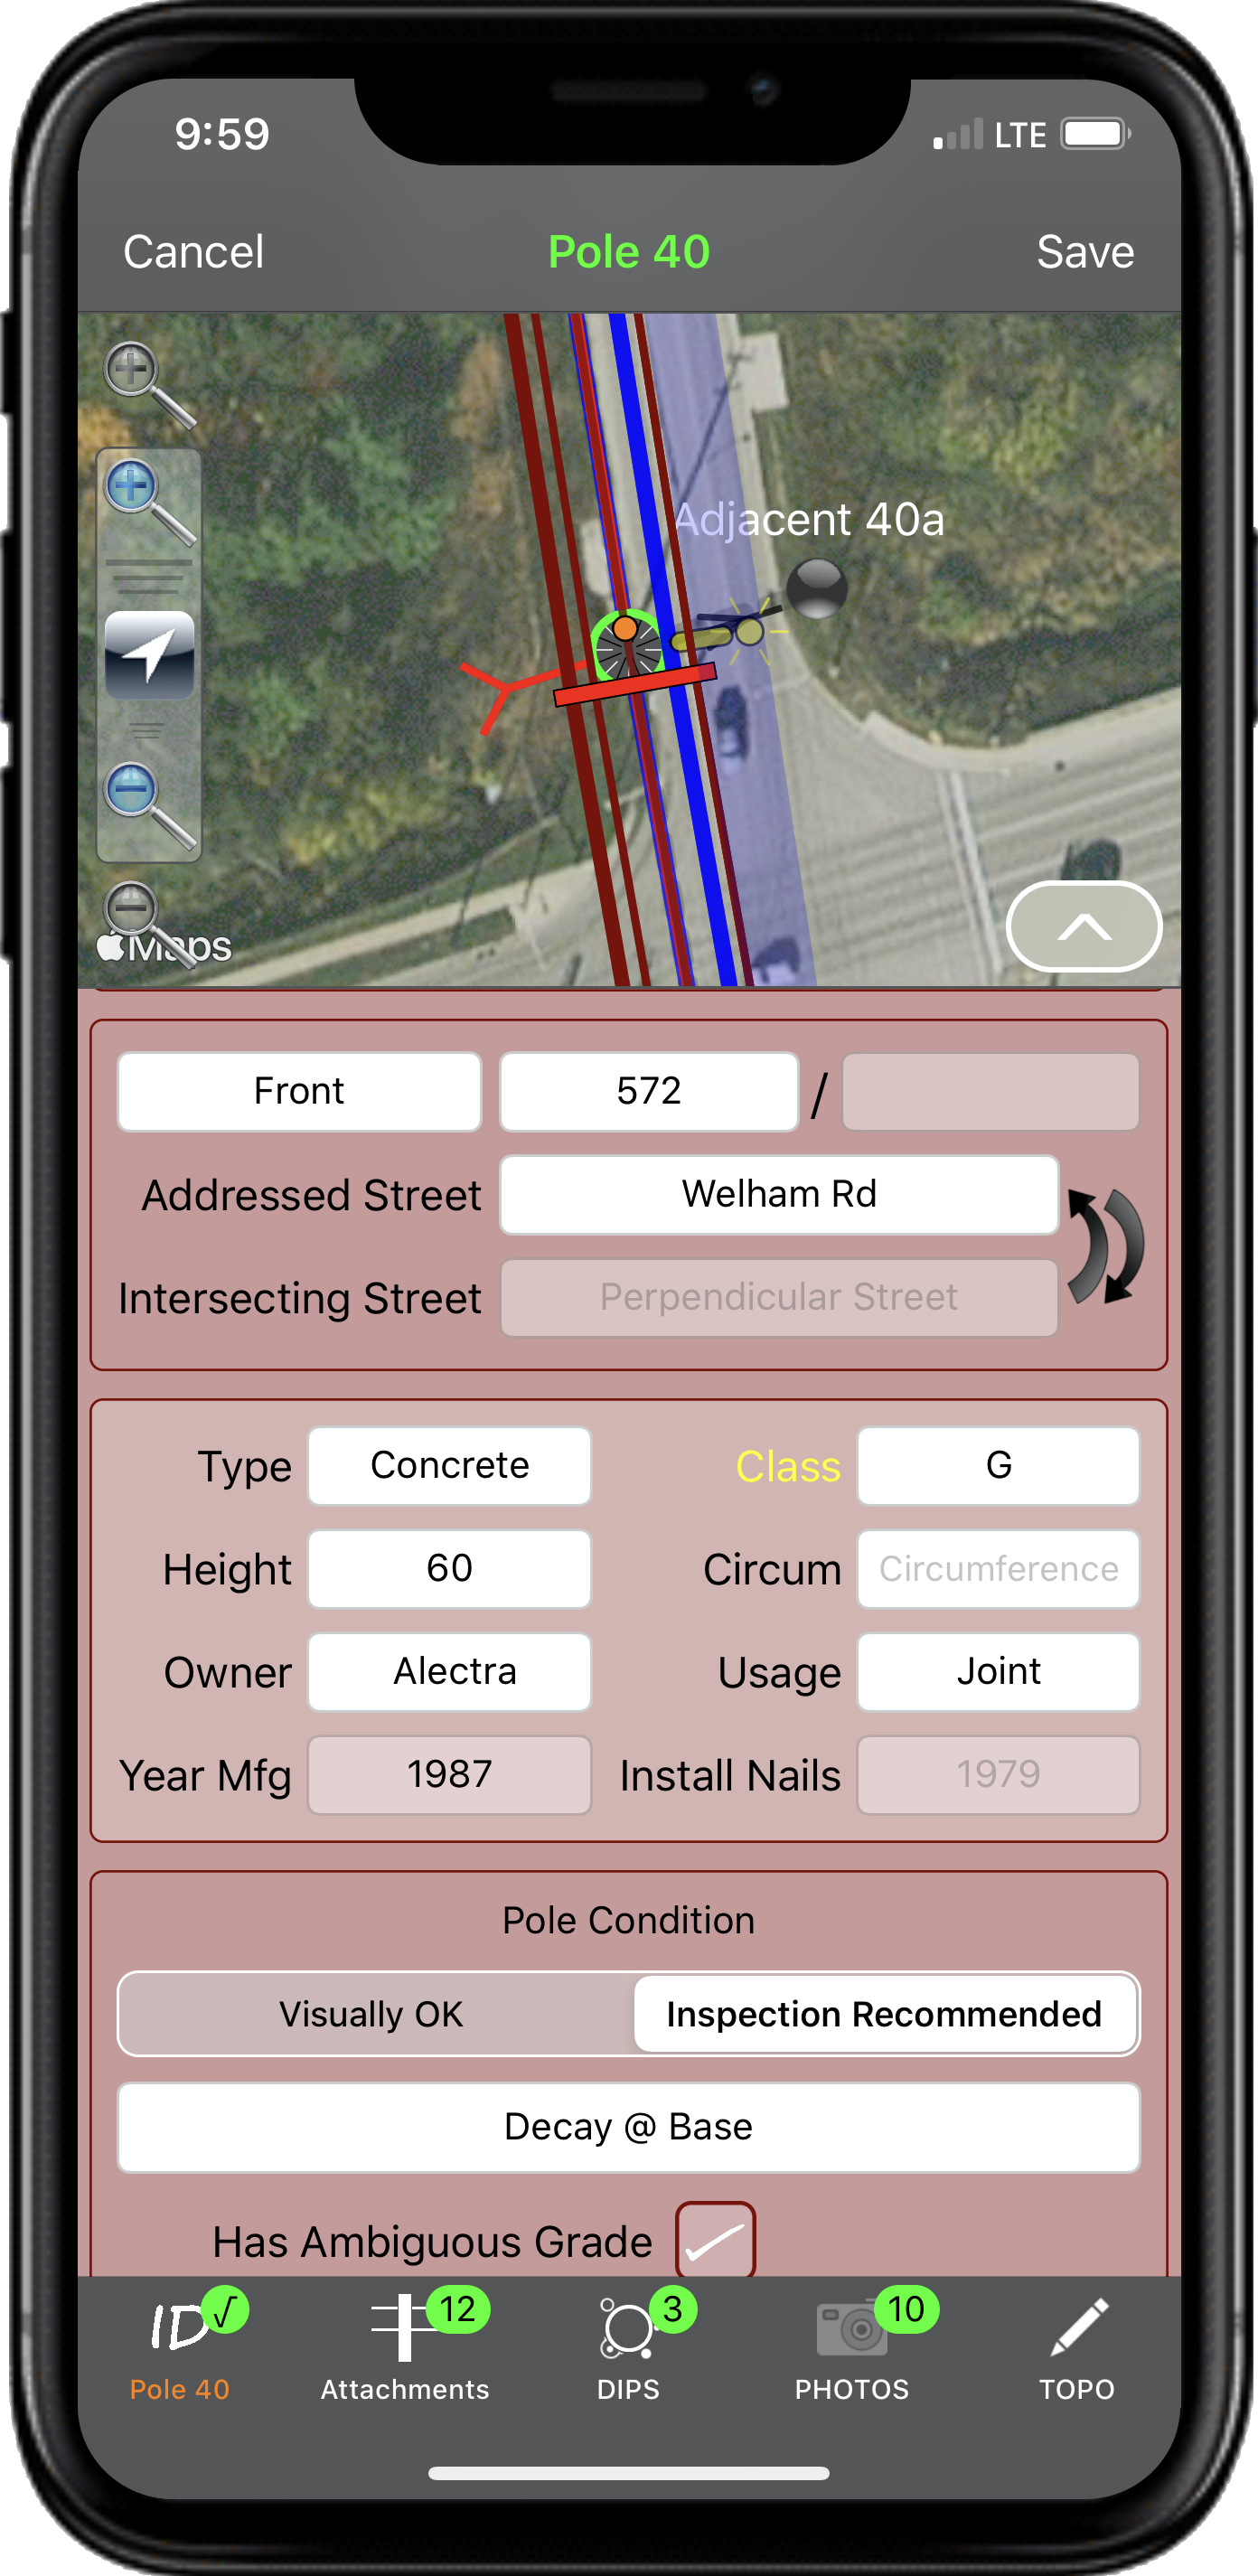
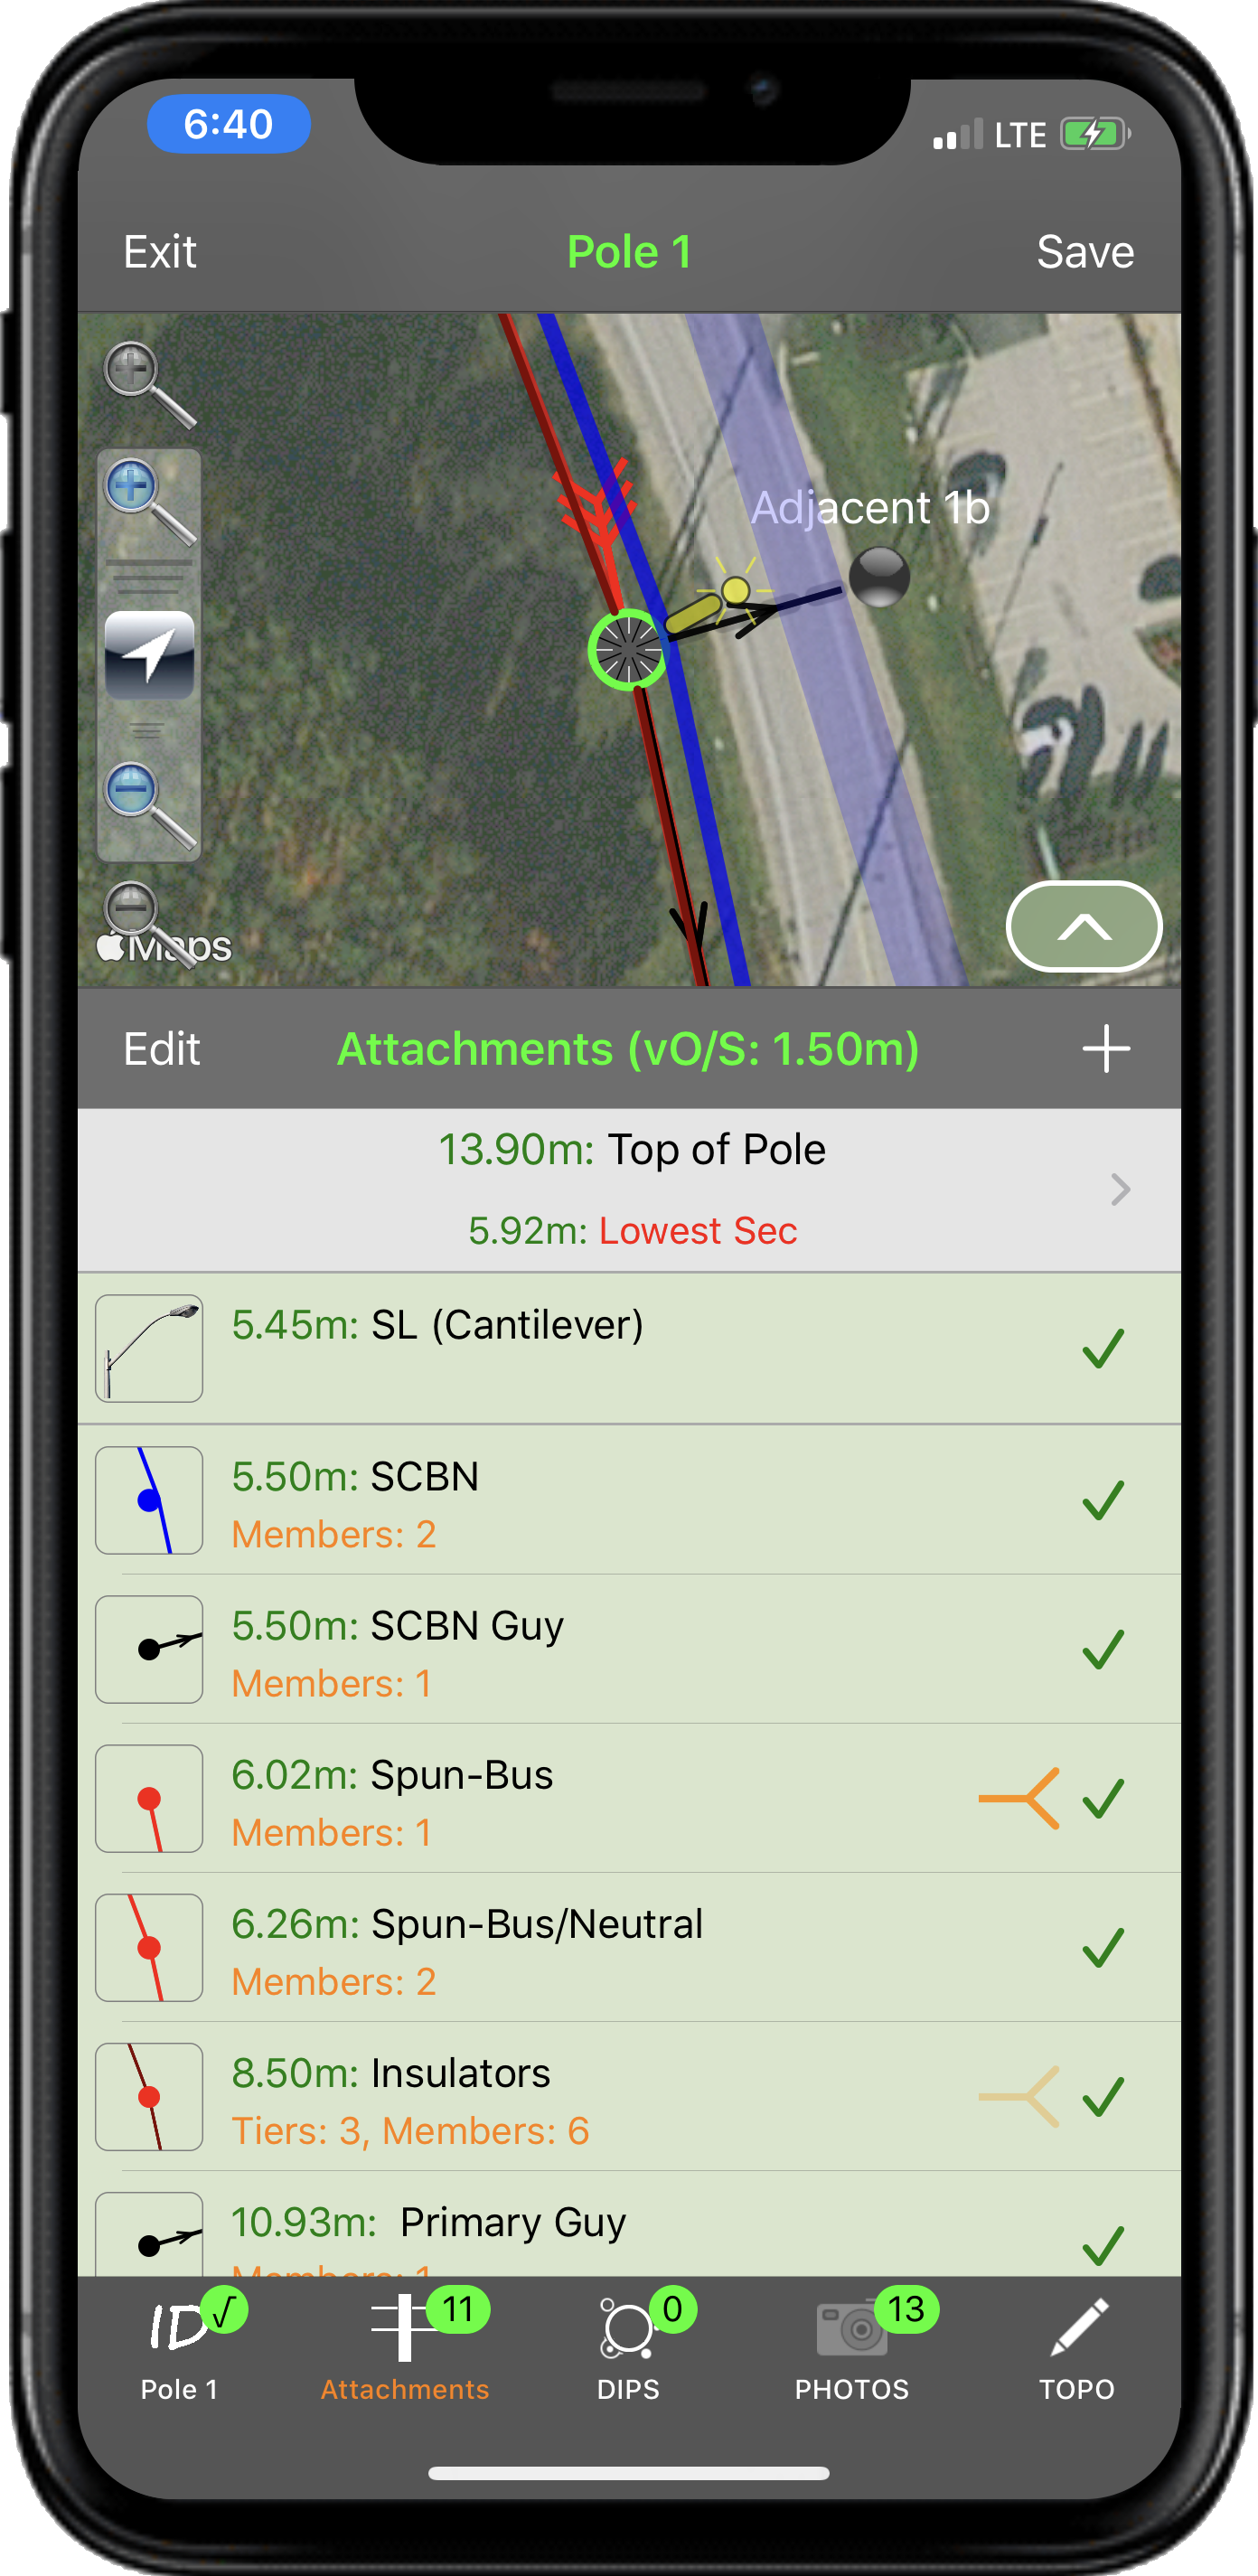
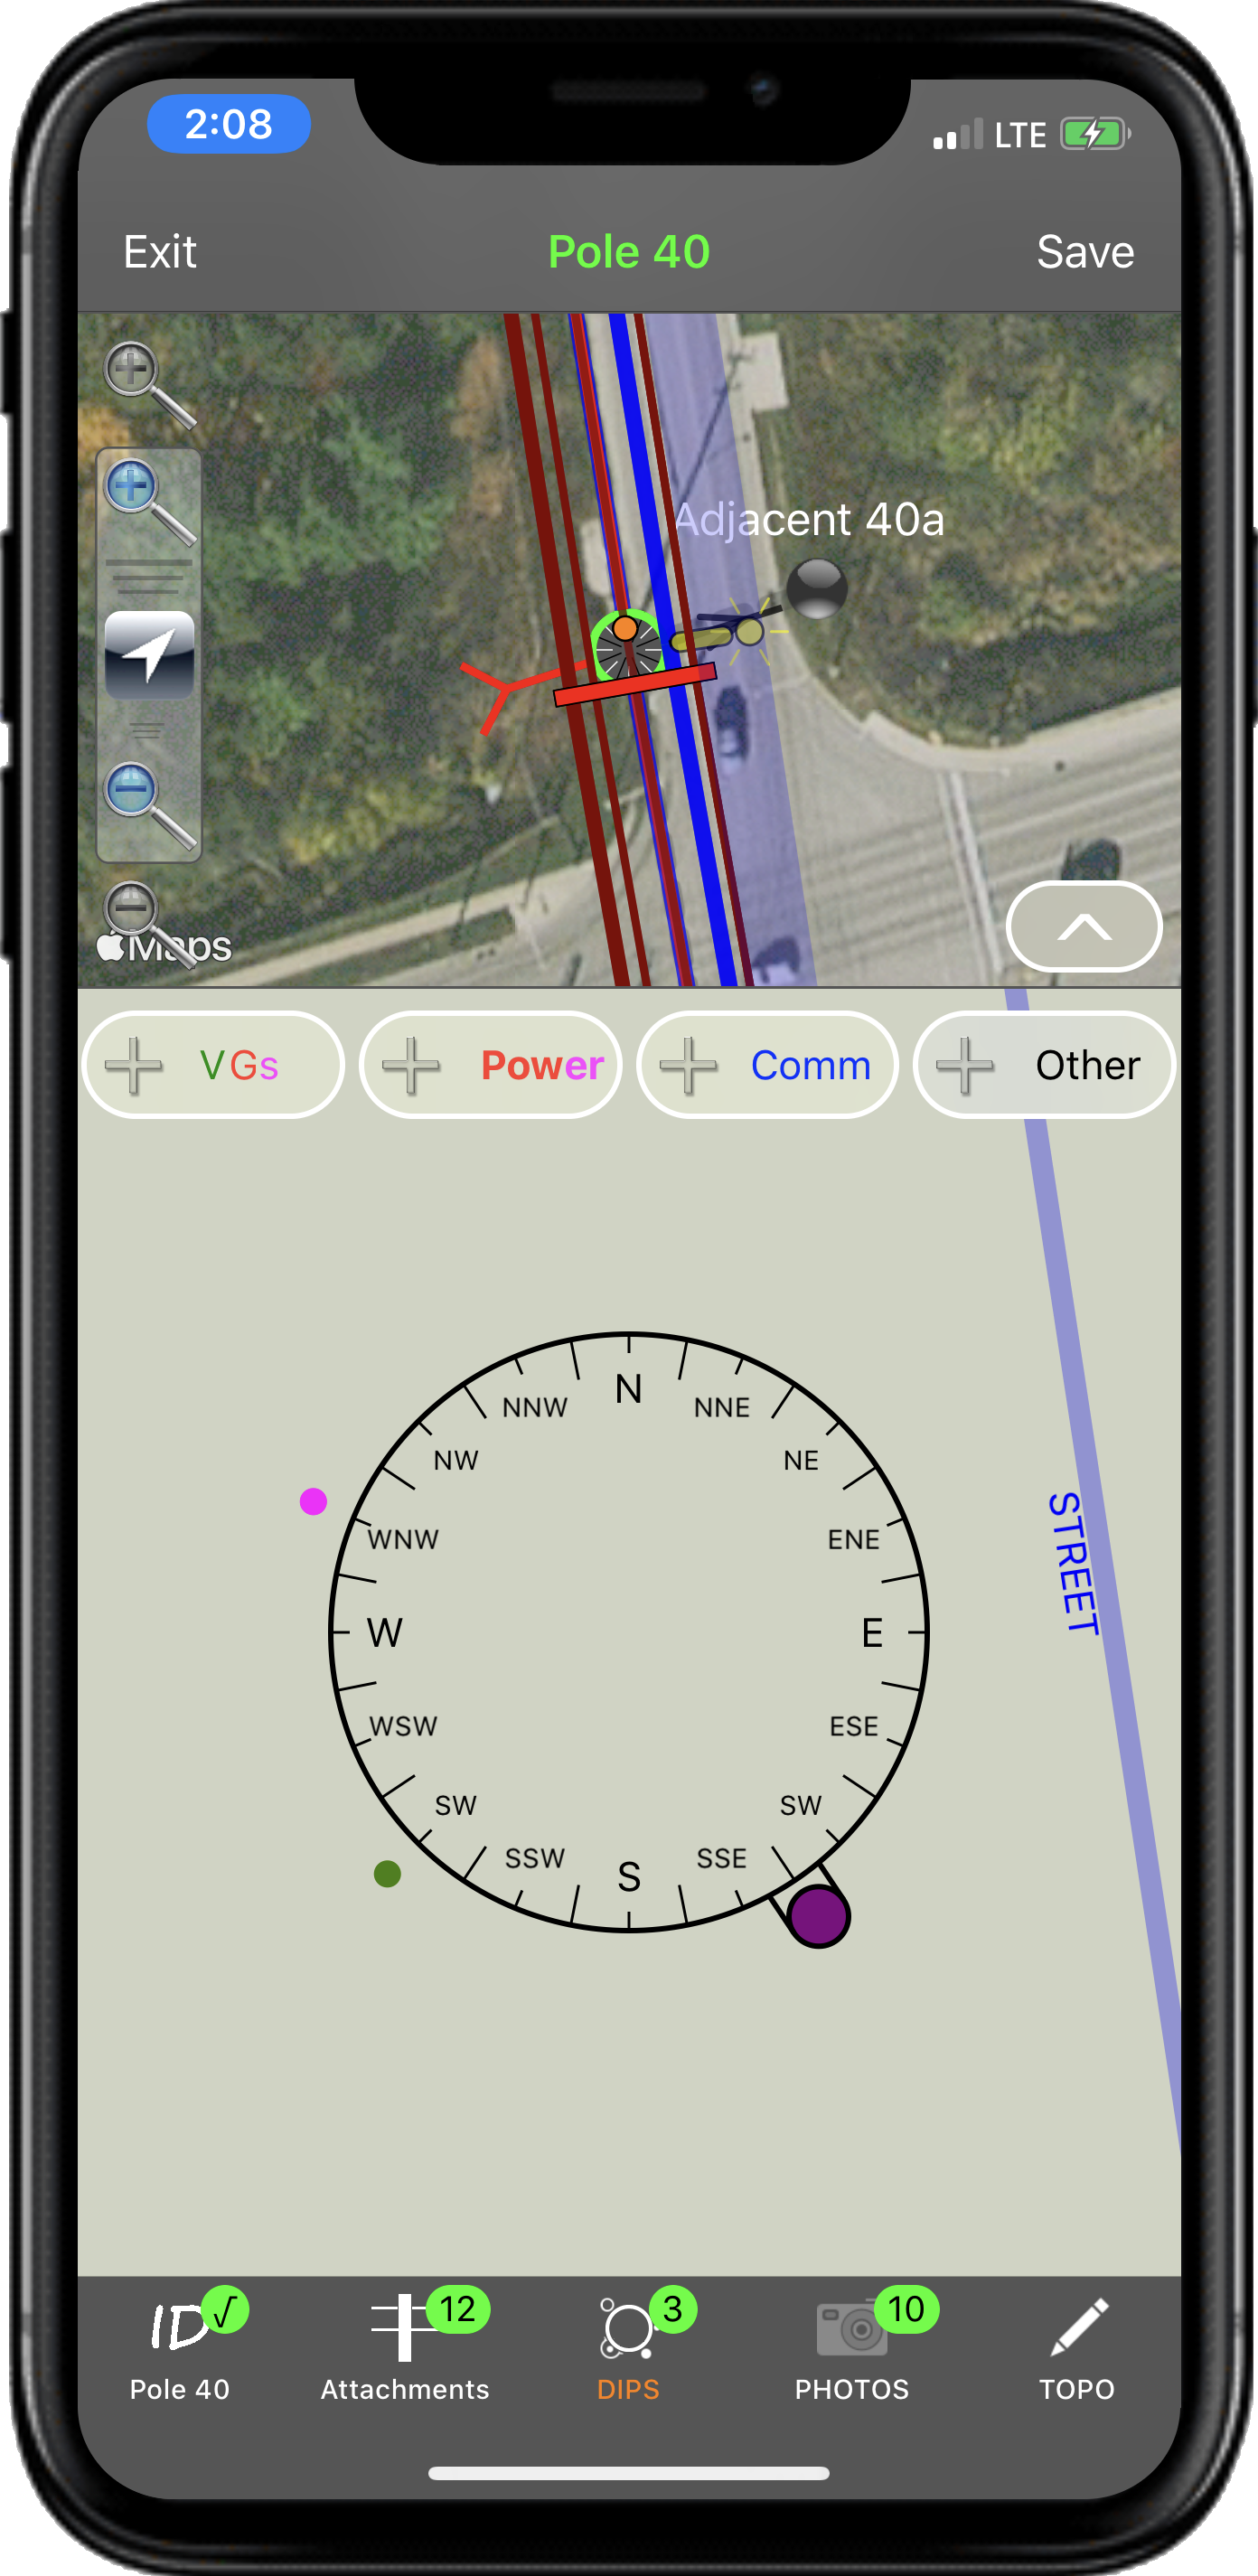
There are 5 tab sections once inside the pole, that will allow you to capture just about everything a pole consists of and filter those values off to the appropriate outbound products.
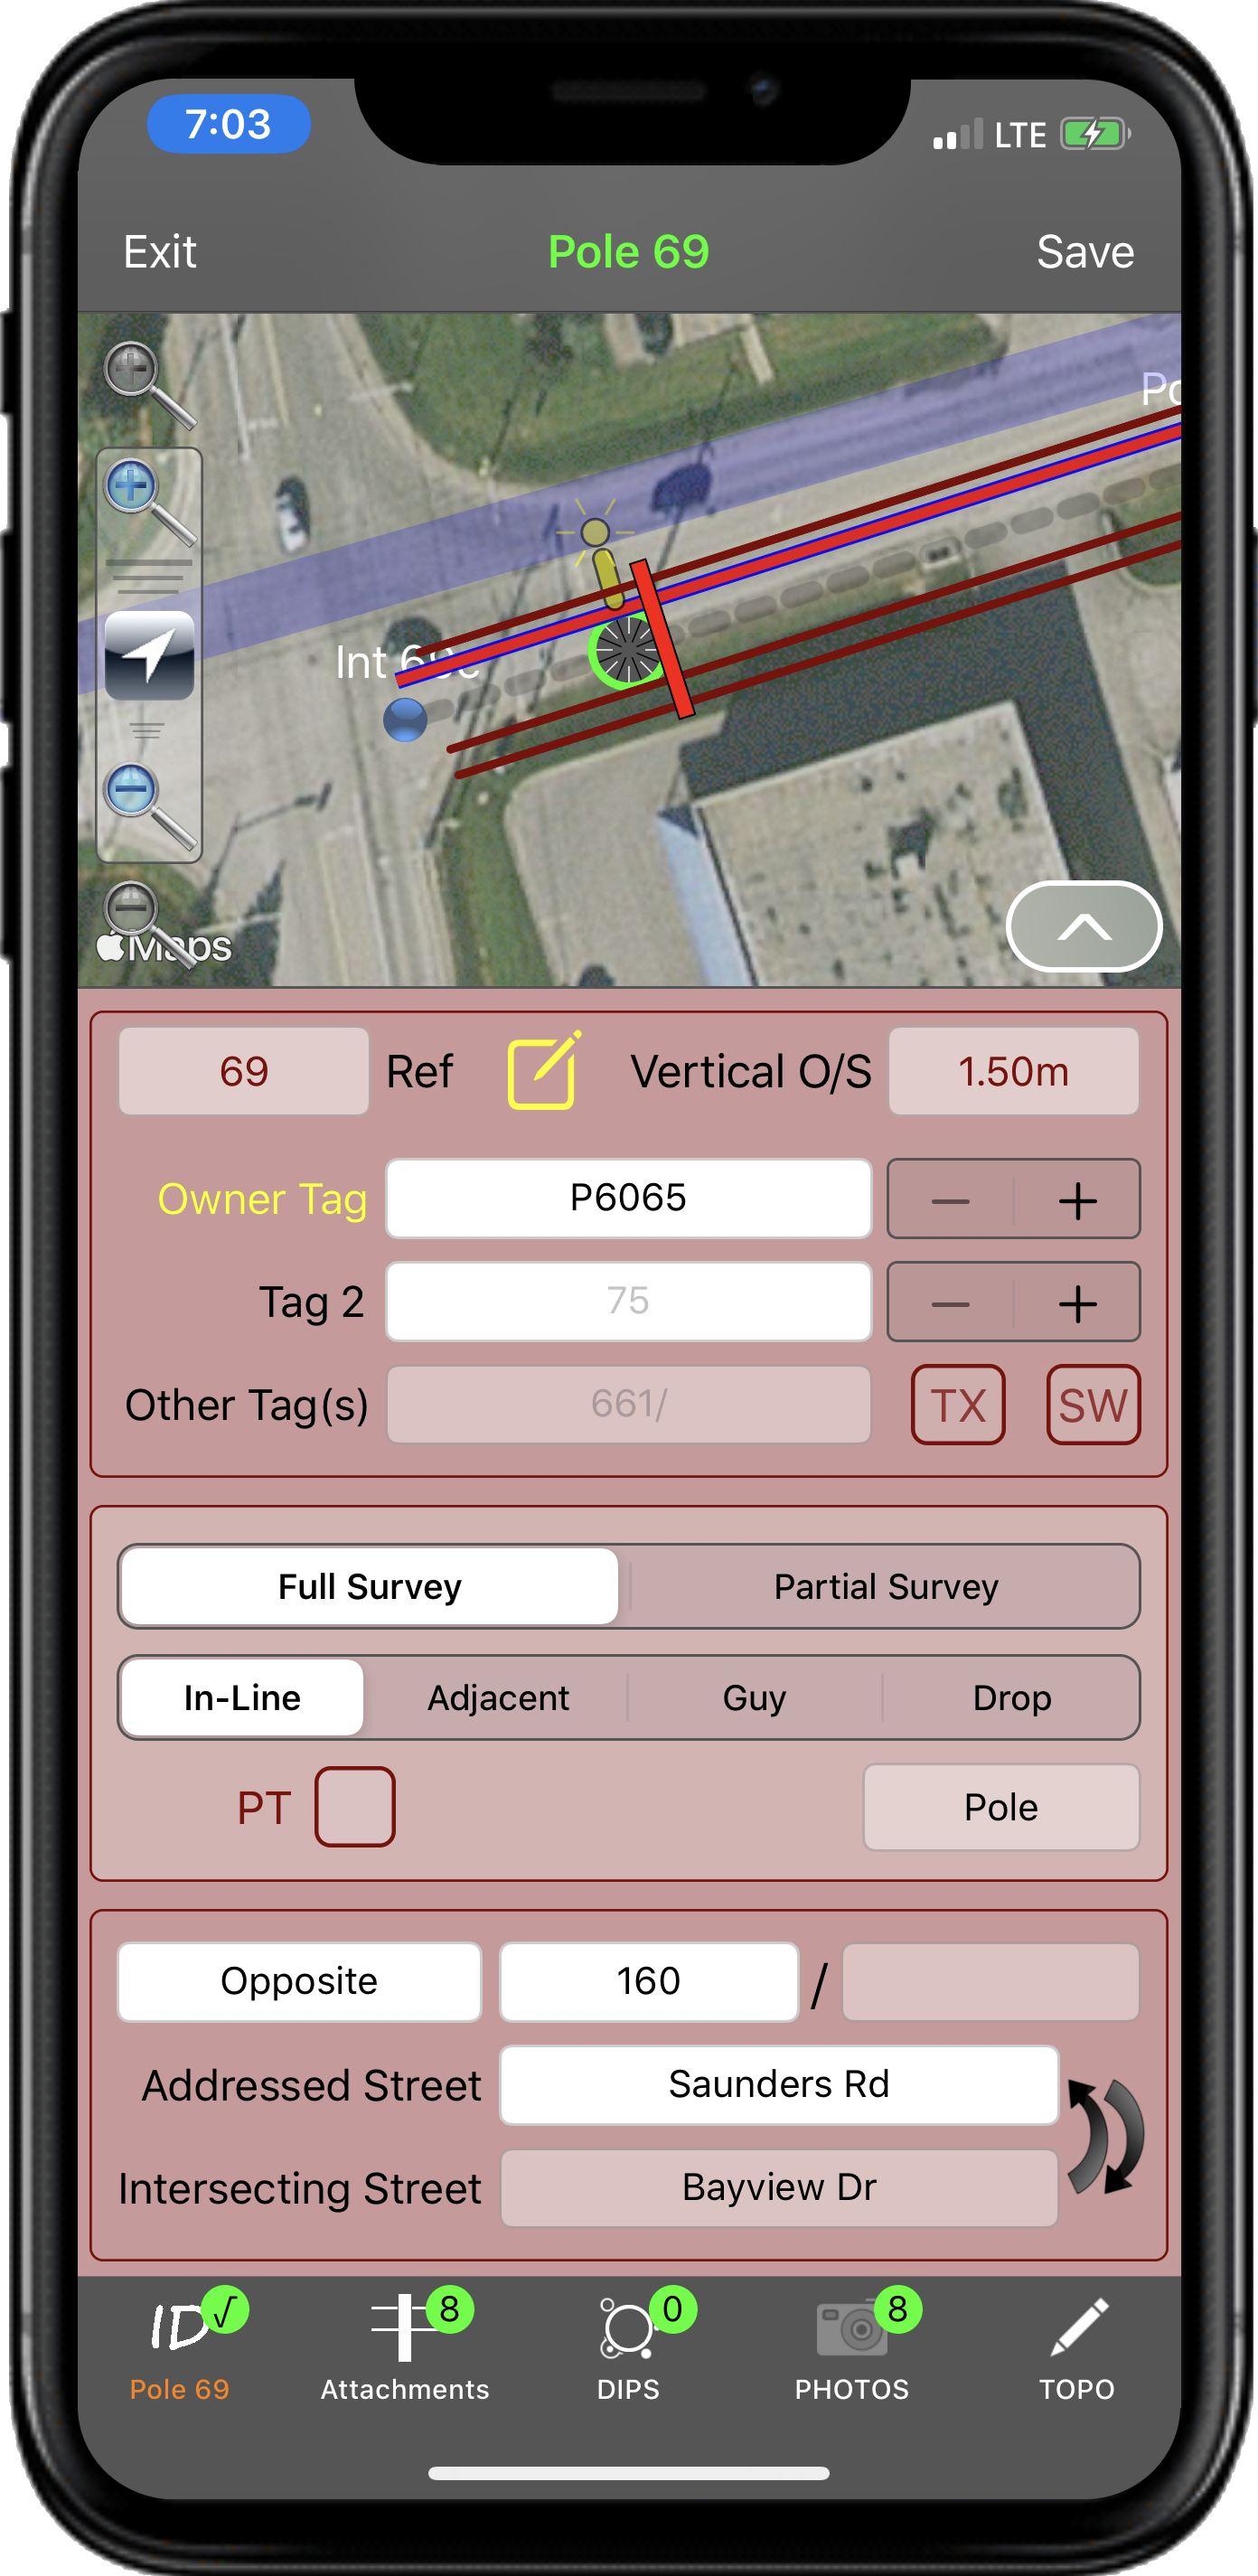
If you are not actually required to get attachment heights or dip information, then most to all of the work will be done in the 1st and 4th tab.
Former values from the last pole saved are stored in the field’s placeholder (light grey text), allowing you to simply swipe to the side to accept. Otherwise, tapping a field will bring up a dedicated list of values most of which - are fully customizable on the fly.
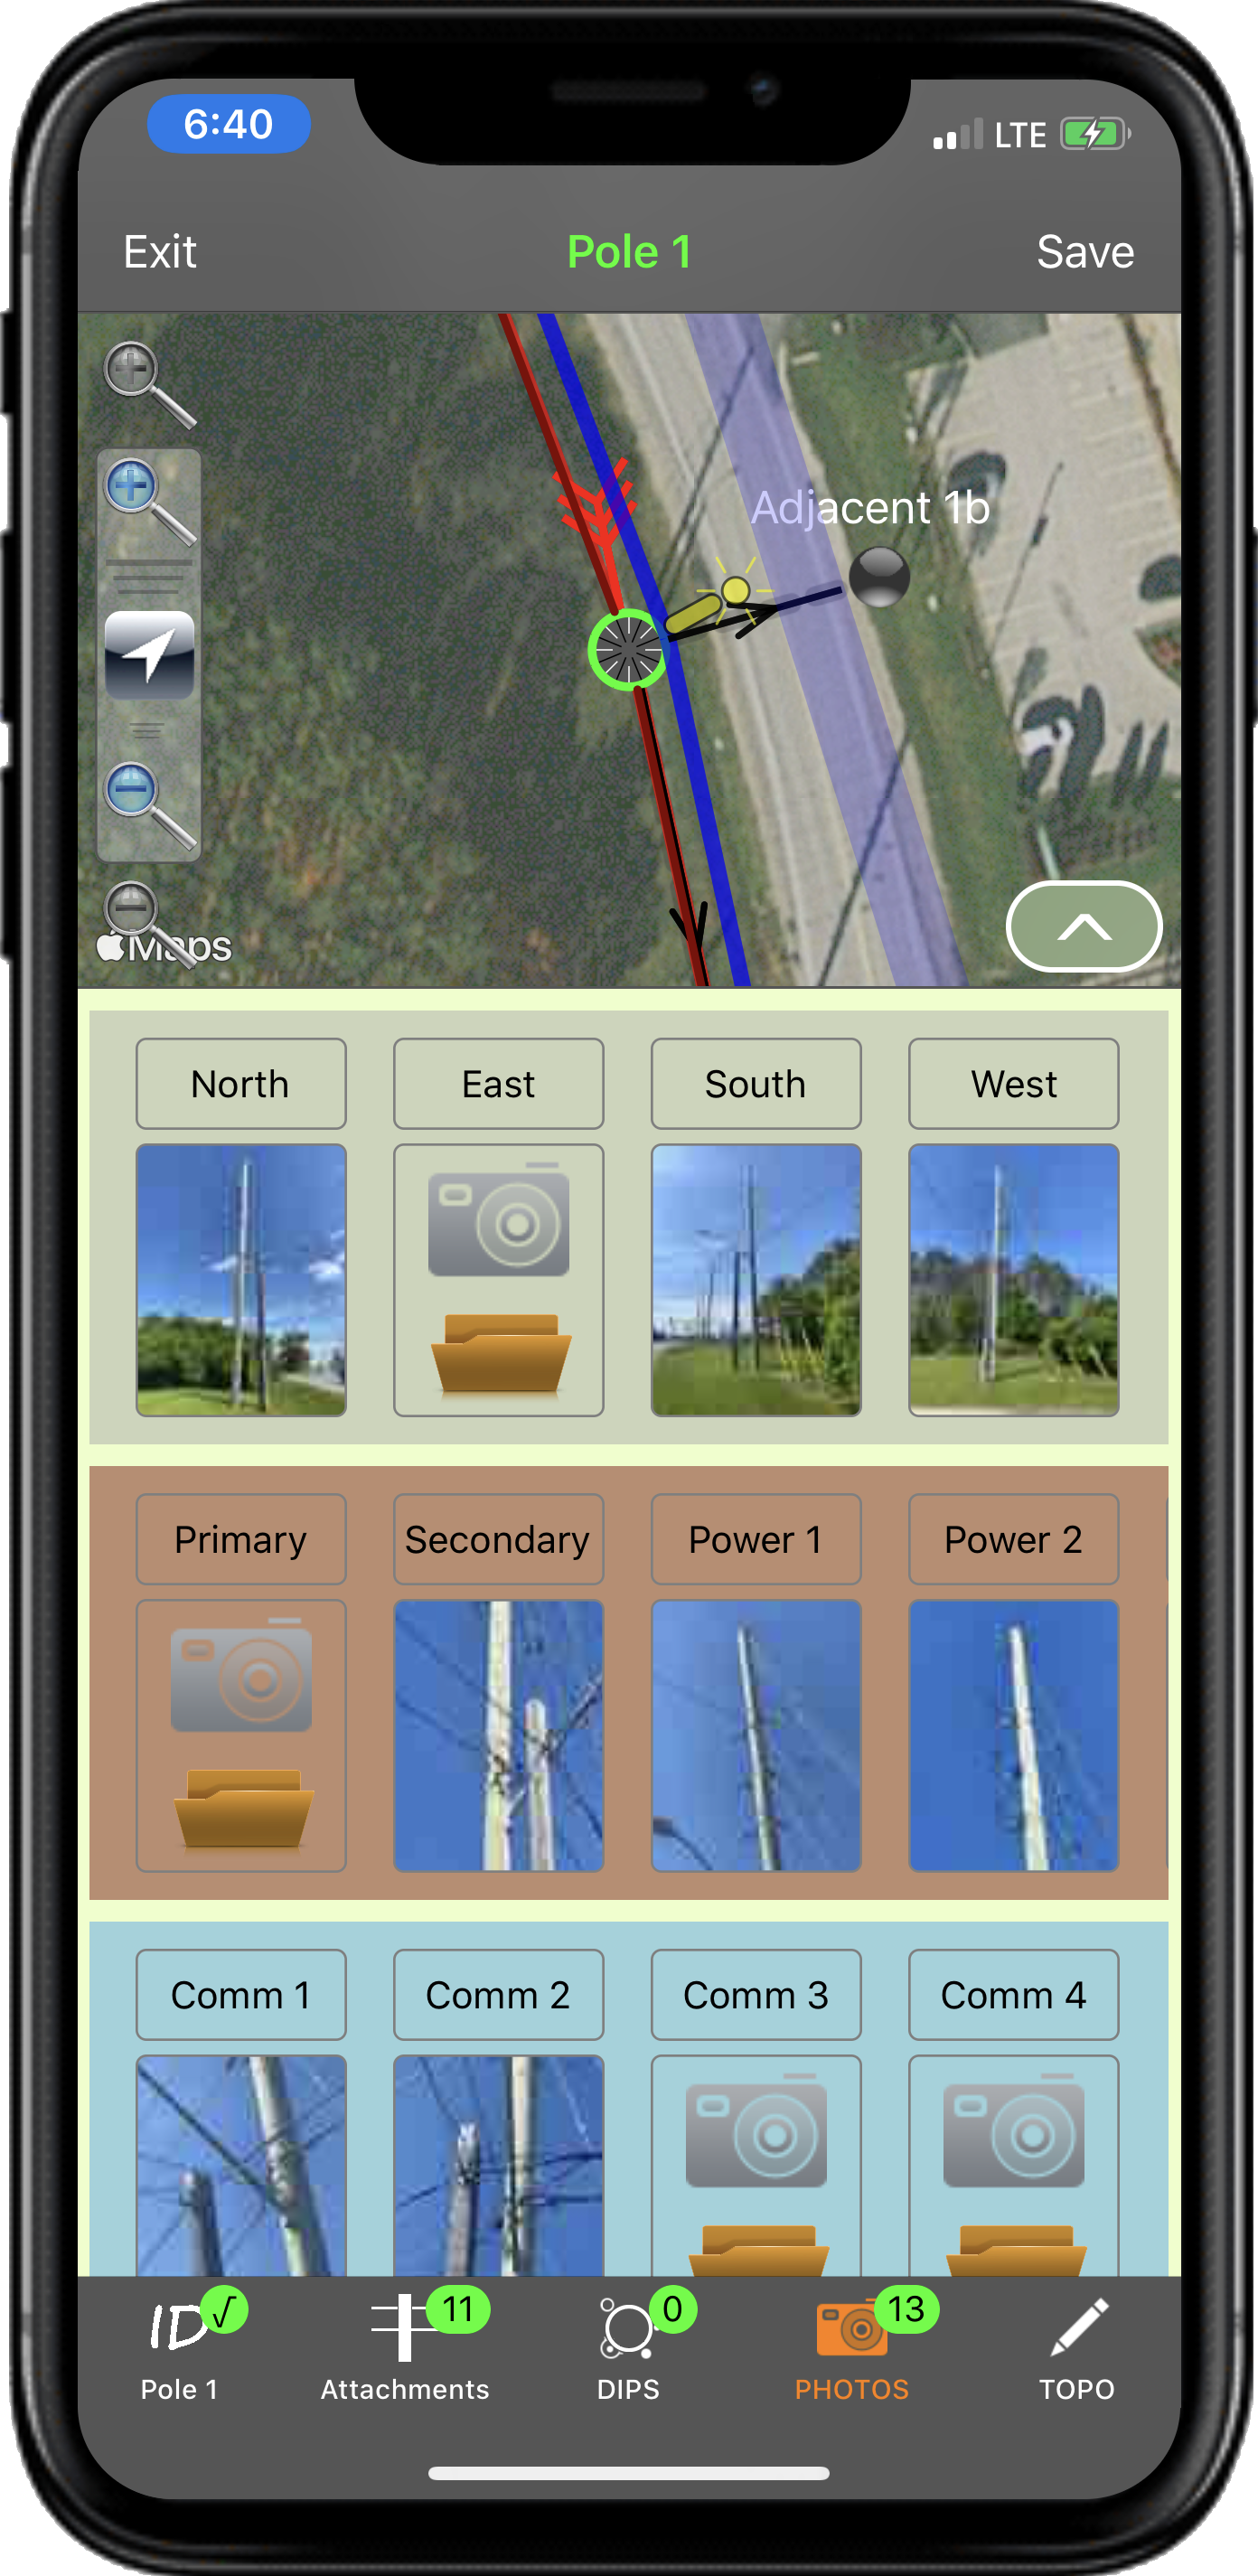
Another handy aid is in taking your pole ID and branding photos first. Then, when your return to the ‘ID’ tab, the corresponding field value label lights up yellow. If you tap this table, the photo pops down over the map, allowing you perfect viewing while you enter the value into the field.
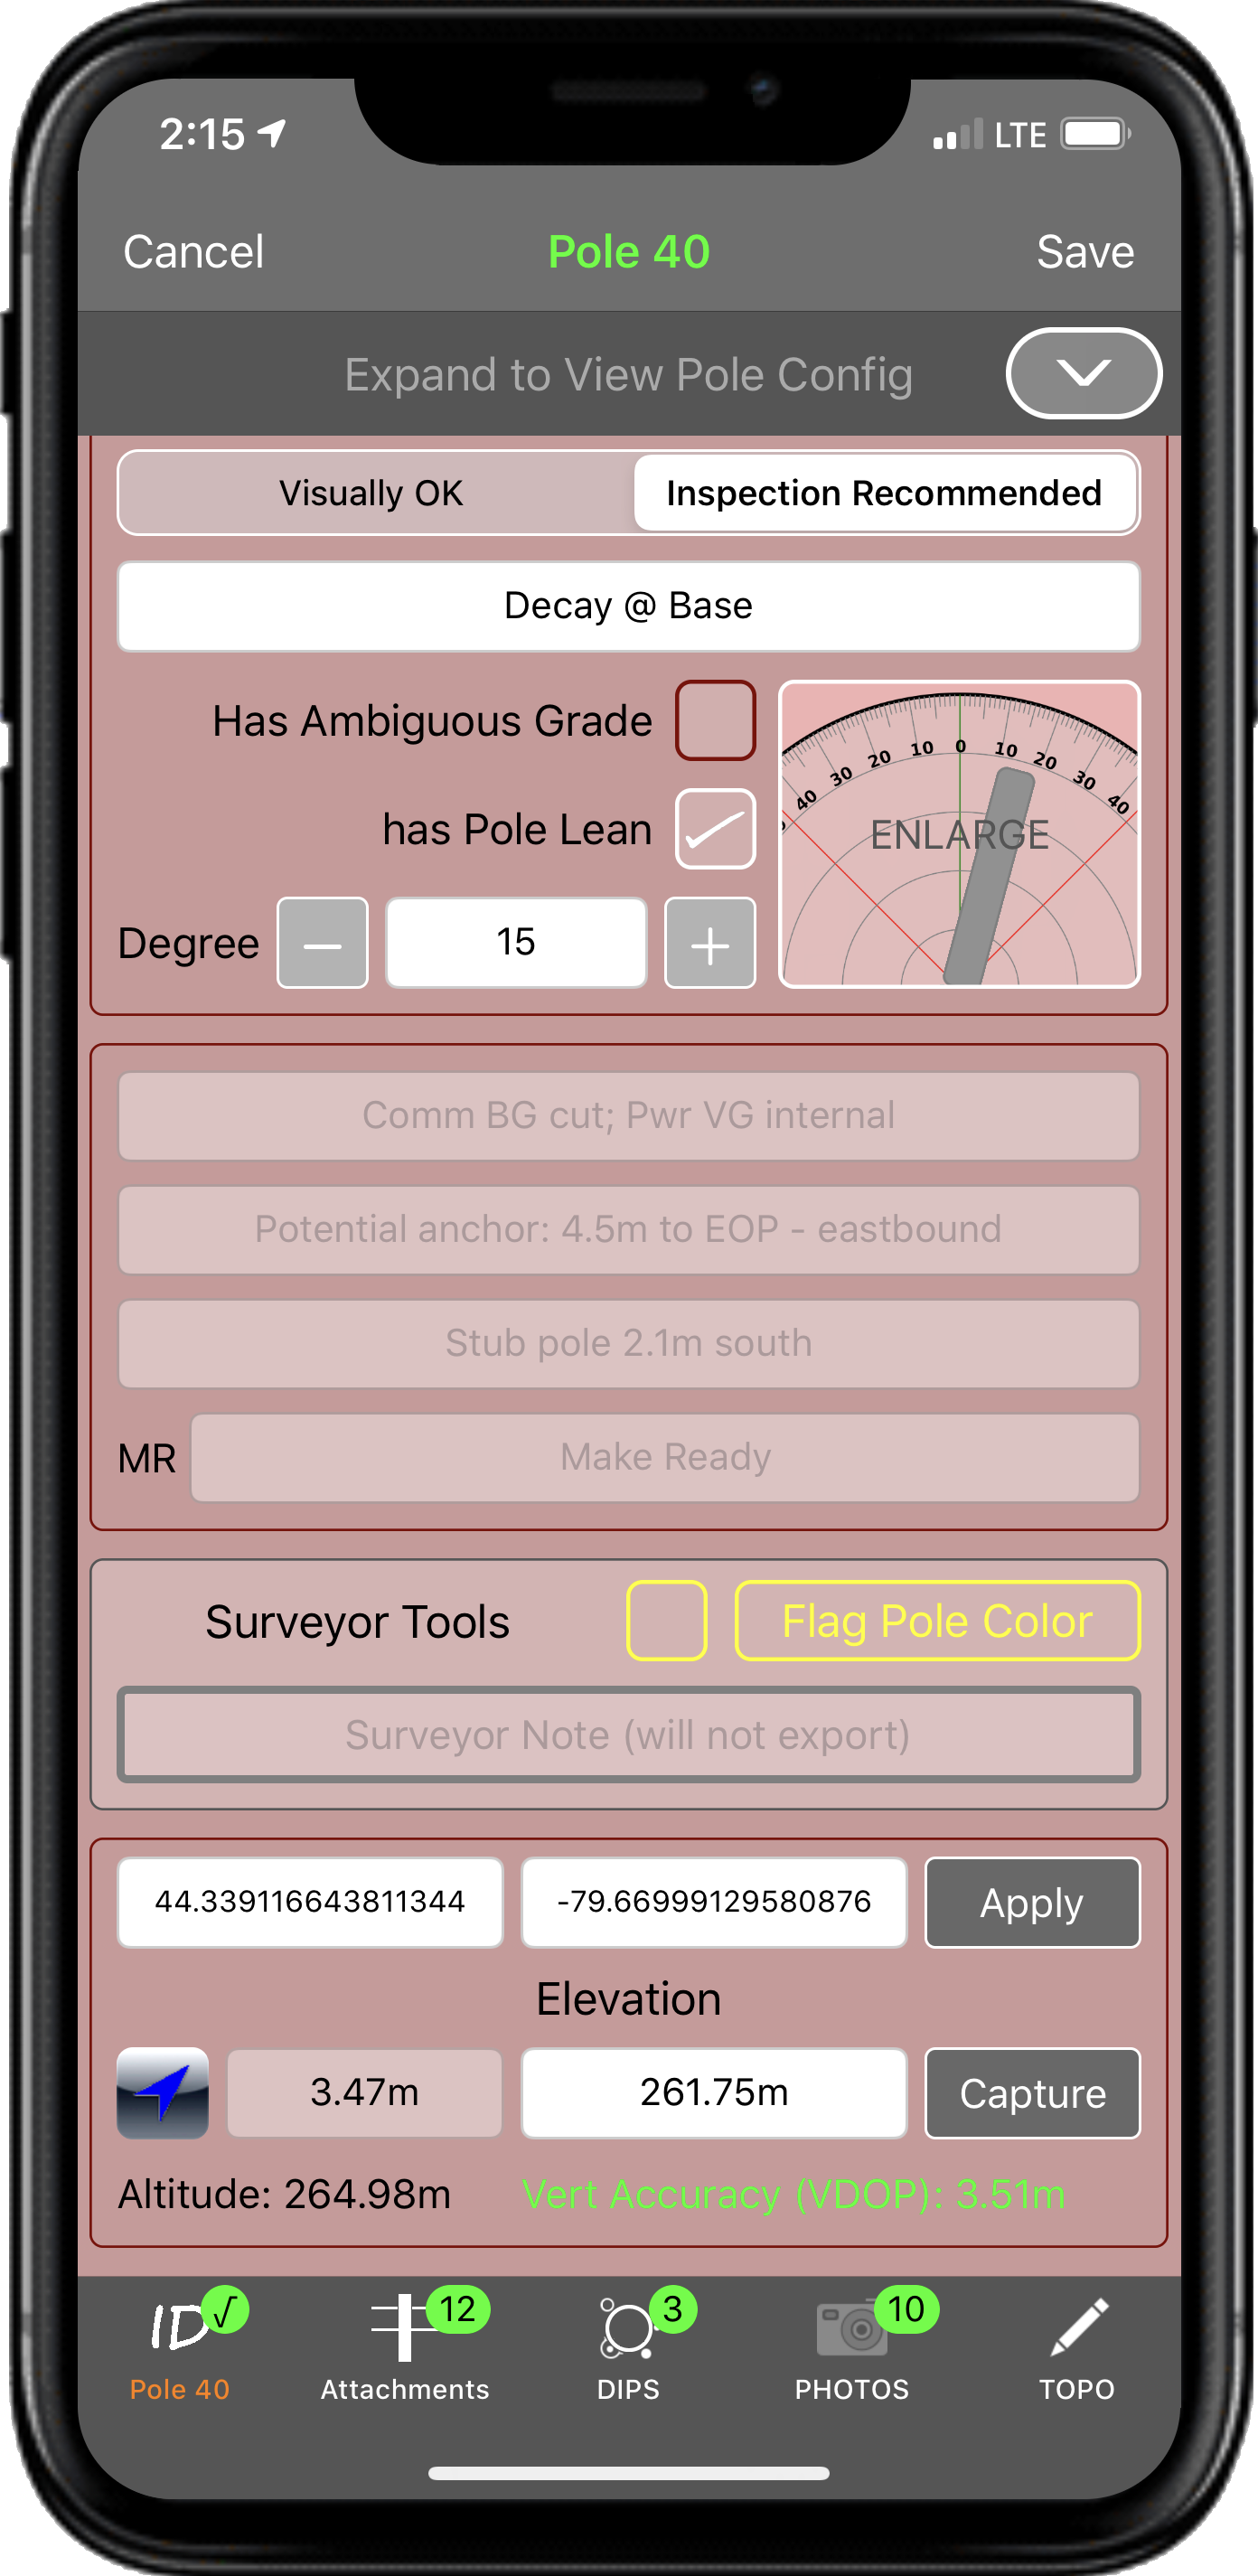
Note the bottom of tab 1; there is a section for capturing ‘Elevation.’ This is required for ‘Non-Linear’ survey where the vertical dimension is used for all engineering calculations. When you click ‘Capture,’ you are taken to a small screen that allows you to enter the vertical offset of your capturing device and the base of the pole. If the VDOP (the instrument’s vertical GPS accuracy reading) is then to your desired accuracy, you capture the net elevation. It even records and delivers the VDOP value in the deliverables, so that the downstream workers know how much value to place in the elevation figure.